

Cottage kitchens are the rooms that sell houses — low beams, warm timber, a table that has clearly hosted twenty years of Sunday lunches. They are also, by a distance, the hardest kitchens in Britain to light well. The ceilings are low, the corners are deep, the natural light arrives through one small window, and the fittings that look right in a magazine loft look absurd under a 2.2-metre beam.
The good news: cottage kitchen lighting follows rules, and the rules are learnable. Here are the seven steps we walk through with customers, in the order we'd apply them to a real room.
Step 1 — Choose your colour temperature before you choose a single fitting
Most lighting mistakes in cottage kitchens are really colour-temperature mistakes. Cool white light (4000K and above) flattens timber, turns cream walls grey and makes a cosy room feel like a dentist's waiting room. For a cottage kitchen you want 2700K "very warm white" almost everywhere, with 3000K as the ceiling for task areas. Decide this first, because it dictates every bulb you buy.
One caveat: colour temperature is not the same as colour accuracy. A high-CRI bulb (CRI 90+, ideally CRI 97 like our Nimbus Pro GU10s) renders oak, terracotta and food the colour they actually are. Cheap warm bulbs are warm but muddy; that's the difference you can't put your finger on in other people's kitchens.
Step 2 — Plan three layers, not one big light
Every kitchen that feels effortless is running three layers of light: general (the overall wash), task (worktops, hob, sink) and accent (the layer that makes it a room rather than a workspace — wall lights, a lamp on the dresser, light on the beams). A single centre pendant on its own produces exactly what most cottages have: a bright middle, dark worktops, and shadows precisely where you chop.
You don't need many fittings for three layers. A typical cottage kitchen manages it with one or two pendants, two wall lights and a run of aimed spots or downlights.
Step 3 — Hang pendants where the ceiling lets you
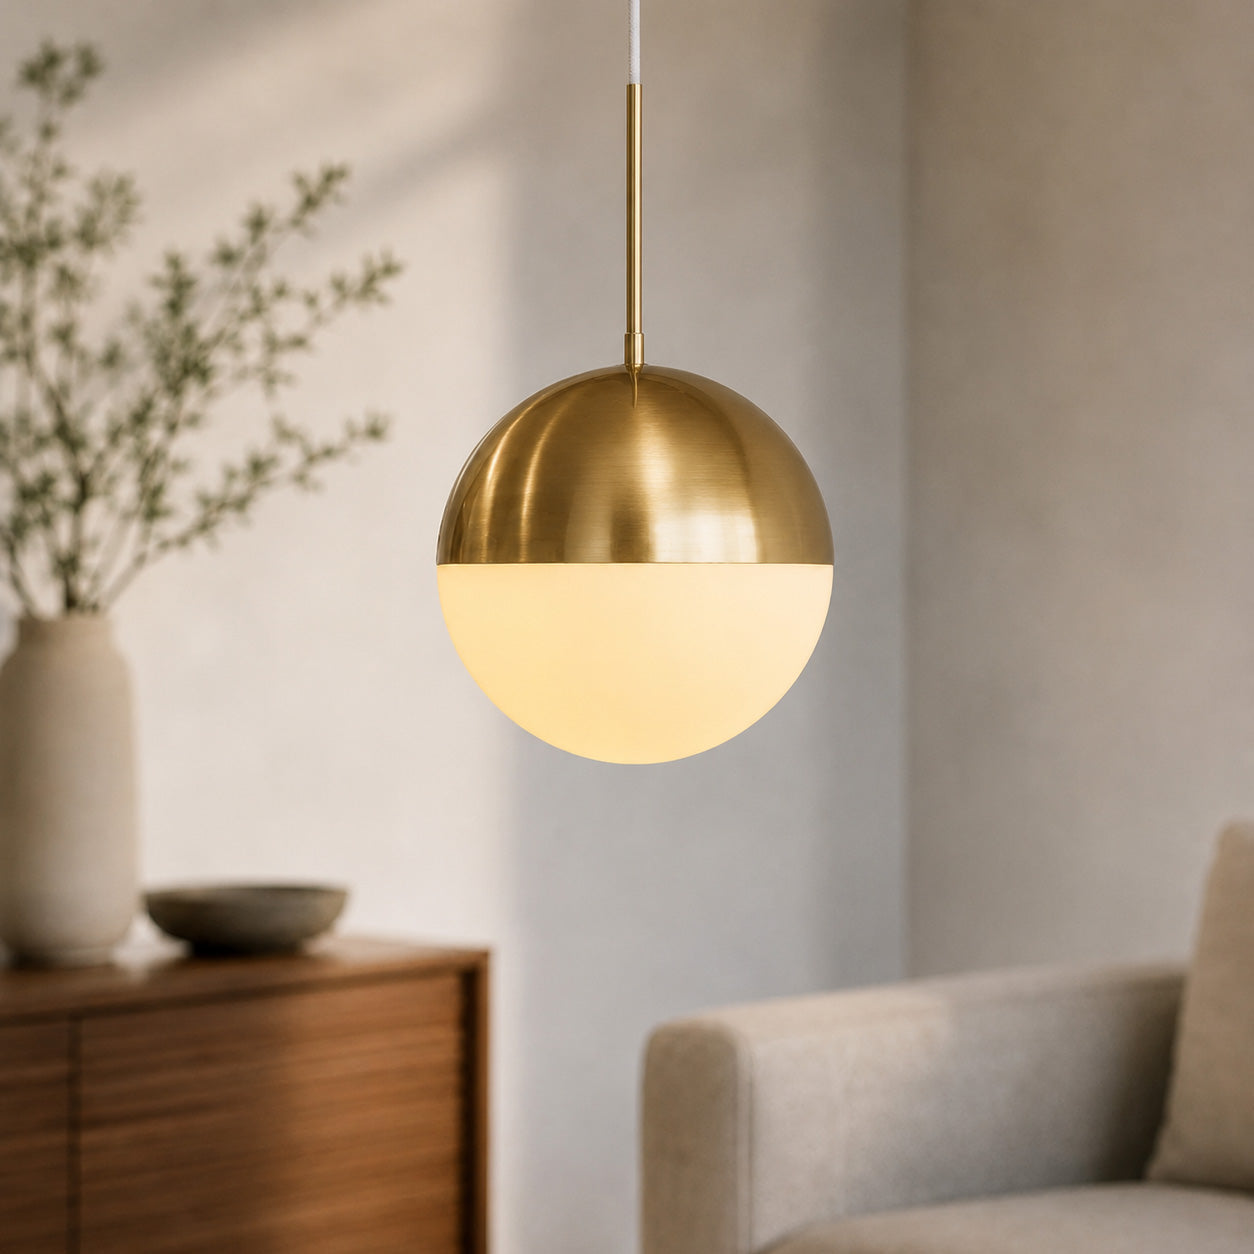
Pendants earn their keep over a table, an island or a peninsula — anywhere people sit, and anywhere the drop can't be walked into. Under a low beamed ceiling the trick is scale and restraint: a compact opal globe such as the Selene reads beautifully at low mounting heights because the glass itself glows softly rather than glaring. Over a table, aim for the bottom of the shade around 75–85 cm above the surface; over an island walkway, keep 2 m of clearance.
If the ceiling gives you one generous spot — a stairwell opening, a vaulted section over the table — that's the place for something with real presence: solid alabaster like the Vela glows like candlelight through stone, and a woven piece like the Tamo throws soft dappled patterns that suit beamed rooms particularly well.
Step 4 — Put wall lights back on the walls
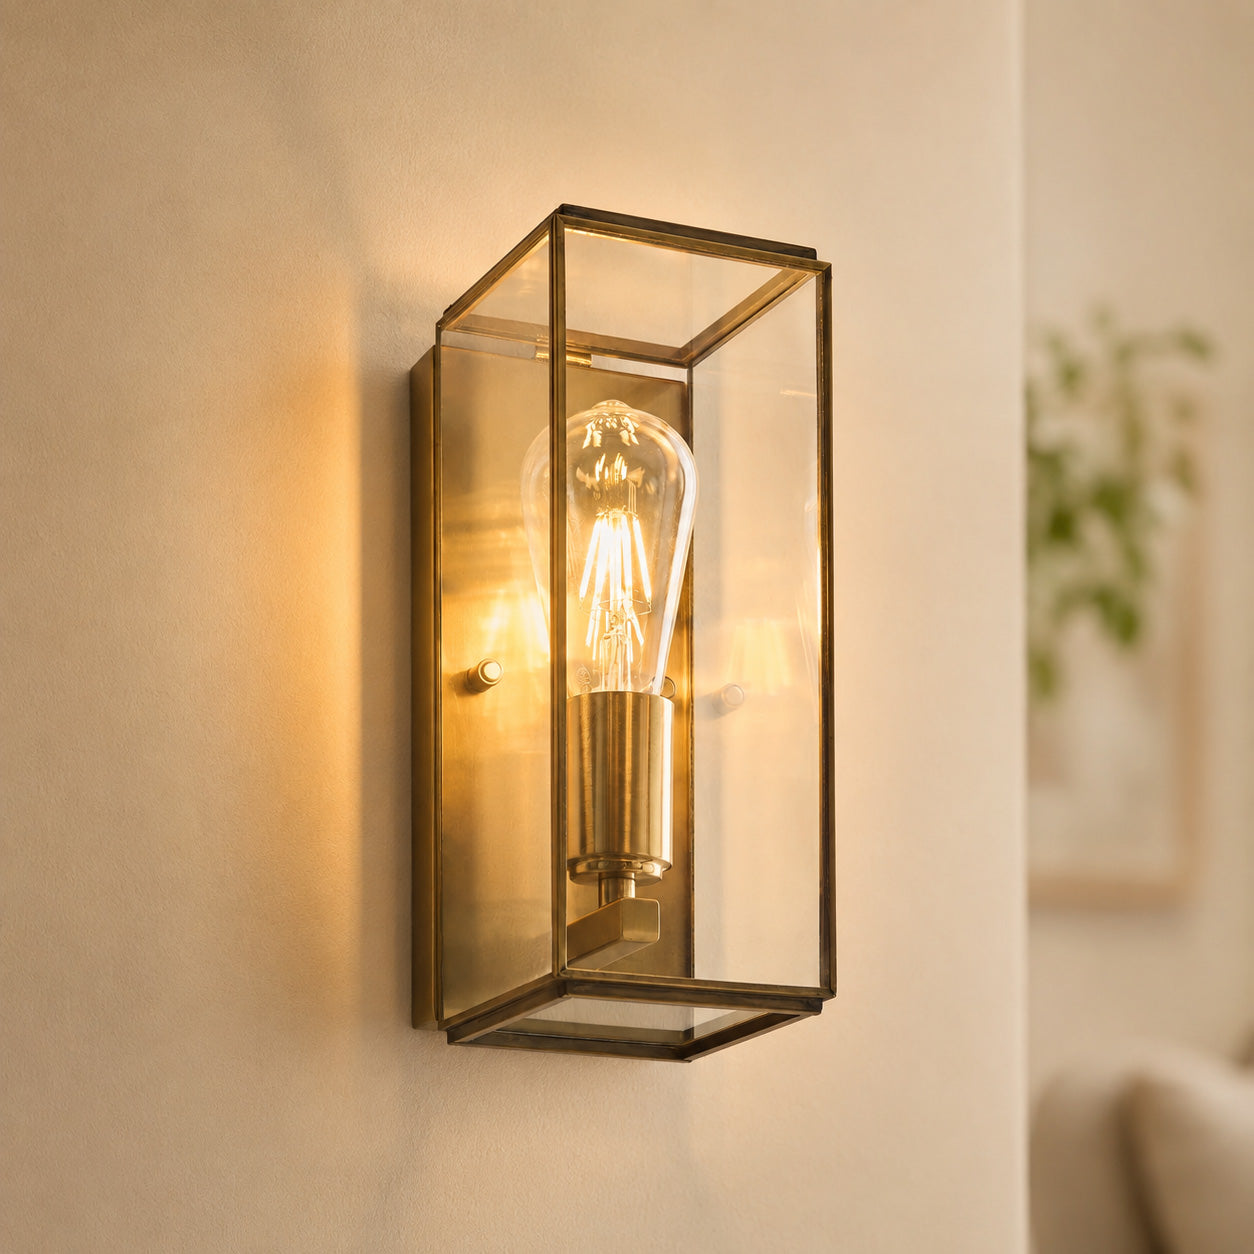
Cottages had wall lights for two hundred years for a reason: with low ceilings, the walls are where the light should come from. A pair of wall lights either side of a window, above a dresser or along the old chimney breast lifts the whole perimeter of the room and takes the pressure off the ceiling entirely. Aged and antique brass finishes — a glazed lantern like the Varel, or a faceted-glass piece like the Cortona — sit naturally against stone, lime plaster and timber.
Step 5 — Light the worktops like you mean it
Task light is the unromantic layer, and the one your eyes will thank you for. The rule: light must land in front of you on the worktop, not behind your head. Discreet plaster-in downlights (our Kanto system disappears into the ceiling entirely — no visible bezel, just light) or small aimed spots handle this without touching the cottage character, because the fittings themselves all but vanish. Space them over the worktop run, not down the centre of the room, and fit them with the same warm, high-CRI bulbs as everything else.
Step 6 — Dim everything, and switch the layers separately
A cottage kitchen is a morning workroom and an evening room-to-be-in, and the same light level cannot serve both. Every circuit that can take a dimmer should have one, and the three layers belong on separate switches so the room can move from "chopping onions" to "second glass of wine" without a trip to the fuse board. If you're re-wiring anyway, this costs almost nothing; if you're not, dimmable bulbs and a replacement dimmer plate get you most of the way.
Step 7 — Match your metals to the room's age
Finally, finishes. Bright chrome fights old rooms; aged brass, antique brass and blackened metal agree with them. Pick one dominant metal and repeat it — pendants, wall lights, even the switch plates — and let one accent (stone, glass, rattan) break the run. This is the step that makes the lighting look inevitable rather than bought.
The short version
Warm (2700K) and accurate (CRI 90+) everywhere; three layers on three switches; pendants only where the ceiling allows; walls doing the heavy lifting; invisible task light on the worktops; dimmers on everything; one metal, repeated. Follow those seven and a cottage kitchen lights itself.
Browse the pieces we'd shortlist for a cottage kitchen in our kitchen lighting collection, or see the full pendant and wall light ranges. Free UK mainland delivery over £40.


