Ceiling Lighting
Flush & Semi-Flush Ceiling Lights
Discreet ceiling fittings for low ceilings, hallways and bedrooms. Soft diffused light without losing head room.
Filters
6 items
Sort Most relevant
-
CEILING LIGHTS
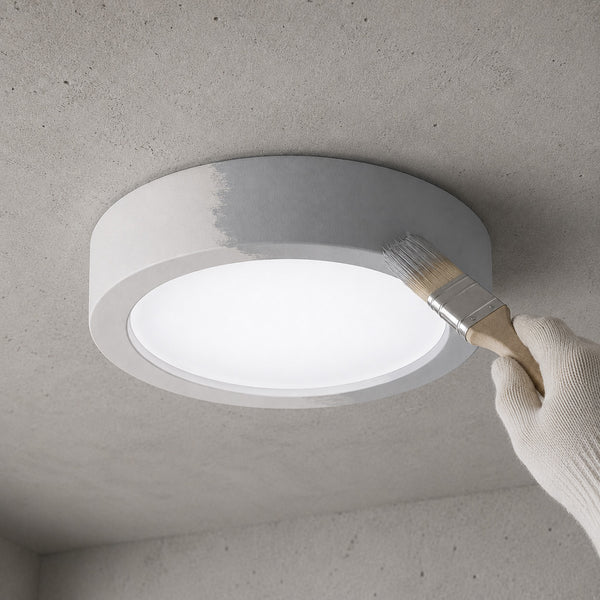
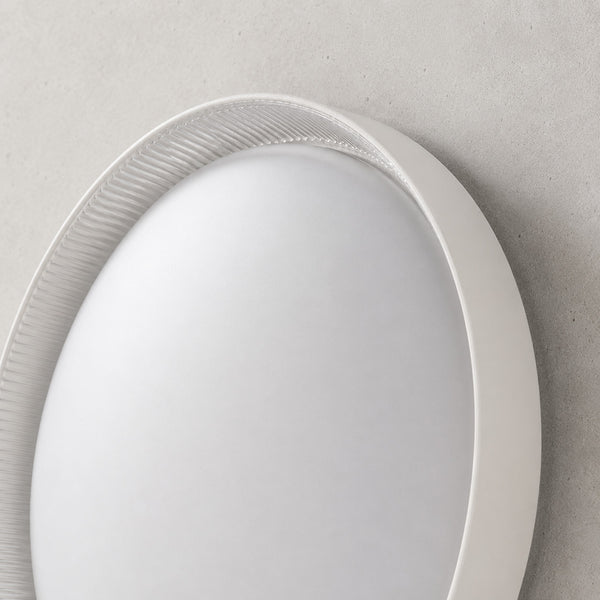
Gabriel Ceiling Light — Paintable White Plaster, Round 30cm
Sculptural simplicity for curated ceilings
Paintable WhiteE27 ES2 lampholders£56In stockView product → -
CEILING LIGHTS
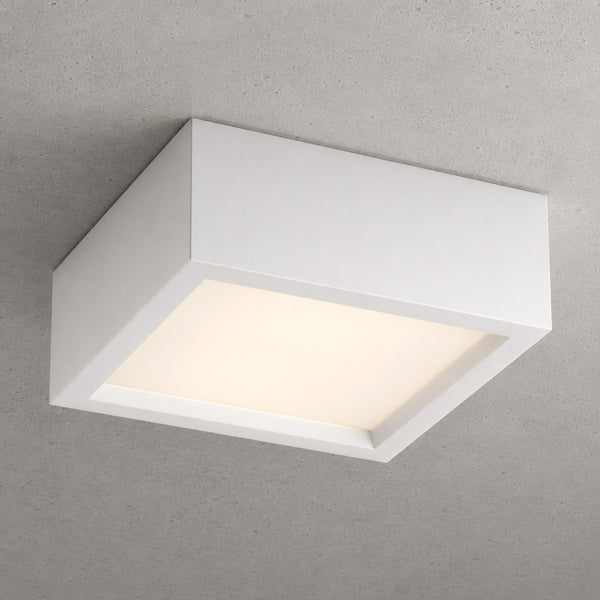
Gabriel Ceiling Light — Paintable White Plaster, Square 25cm
A canvas for light and colour
Paintable WhiteE27 ES2 lampholders£54In stockView product → -
CEILING LIGHTS
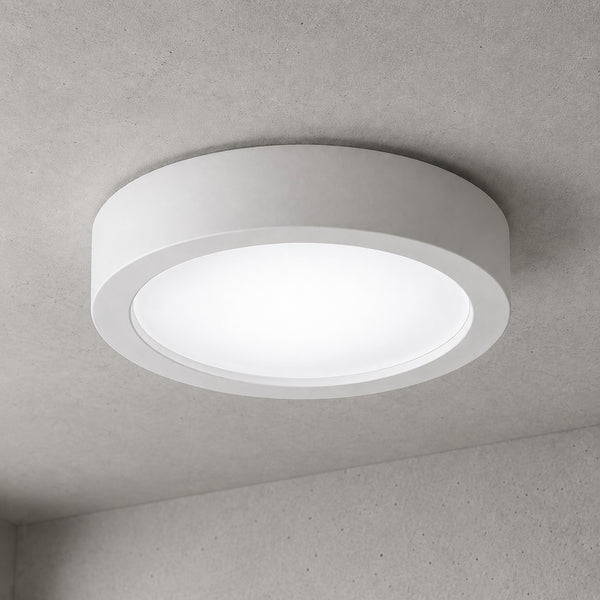
Kaos LED Ceiling / Wall Light — White, Colour Temperature Switch, 50cm
Adaptable warmth for any room's rhythm
WhiteIntegrated LED1 lampholder£87In stockView product → -
CEILING LIGHTS
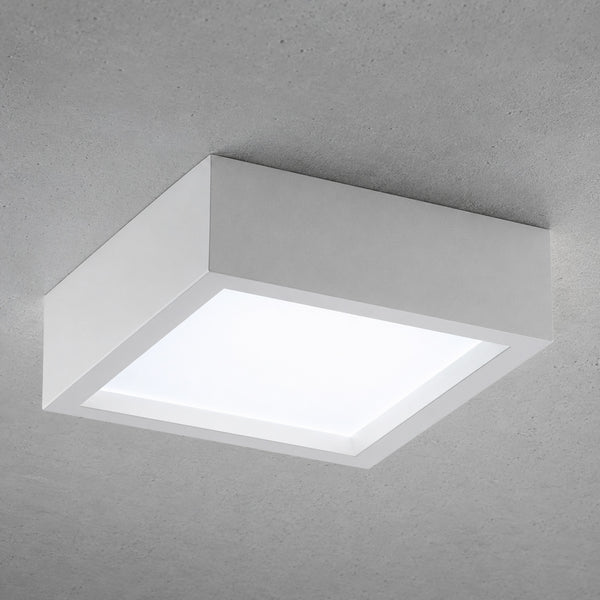
Kaos LED Ceiling / Wall Light — White, Colour Temperature Switch, 40cm
Calm overhead light, warmth on demand
WhiteIntegrated LED1 lampholder£65In stockView product → -
CEILING LIGHTS
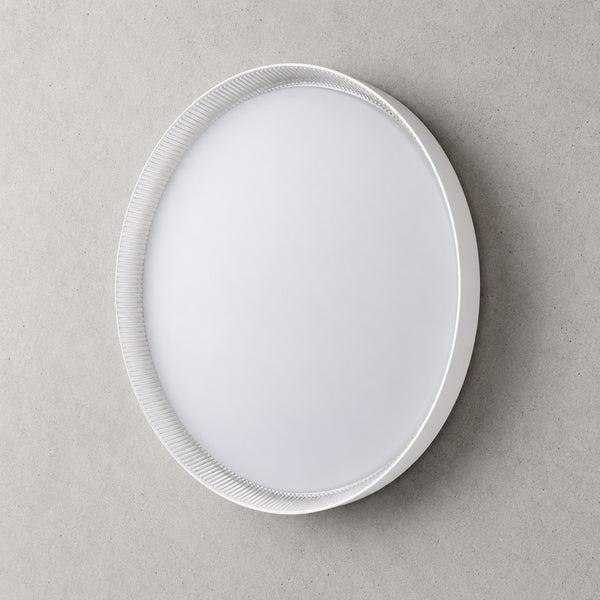
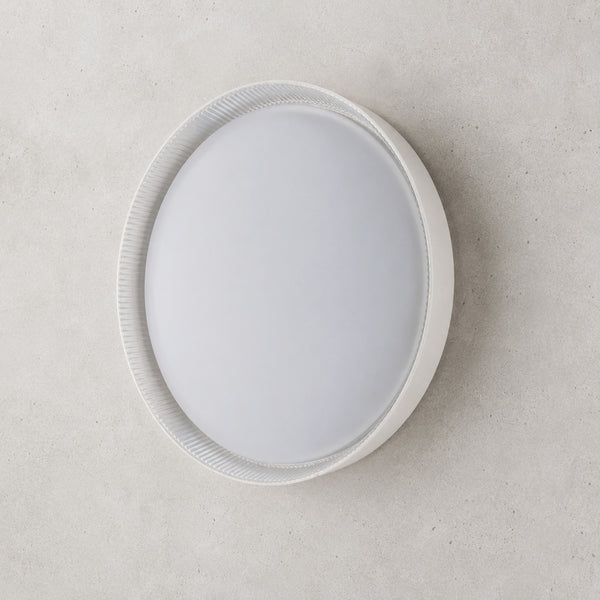
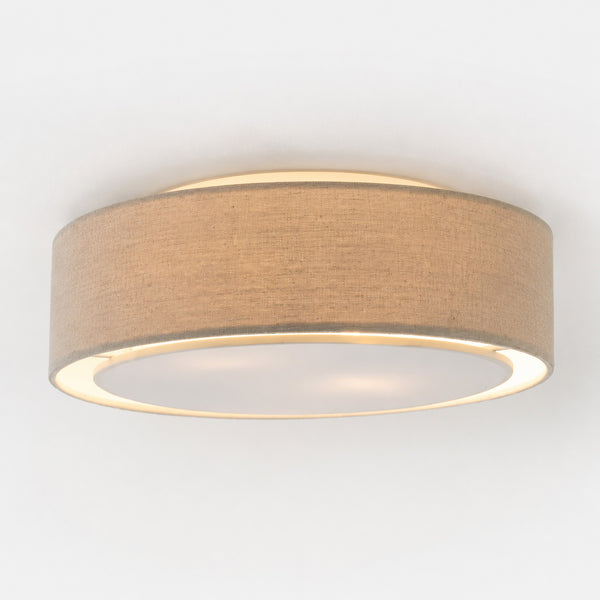
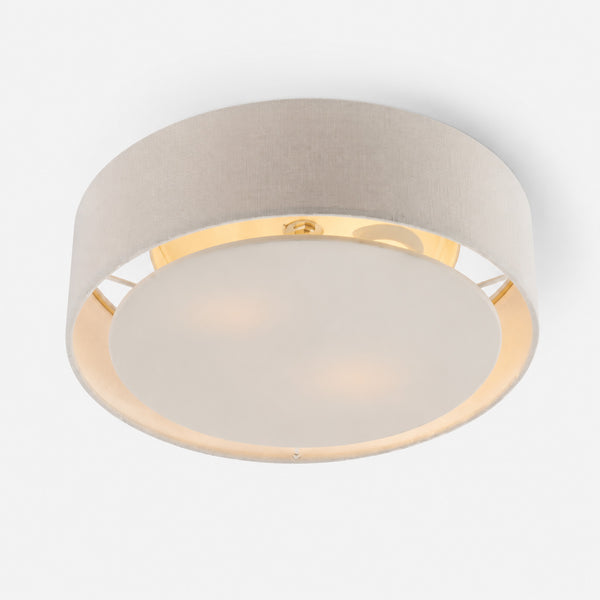
Senna Round Linen Flush Ceiling Light — Dove Grey
Soft linen warmth for calming spaces
BeigeE14 SES2 lampholders£50In stockView product → -
BATHROOM LIGHTING
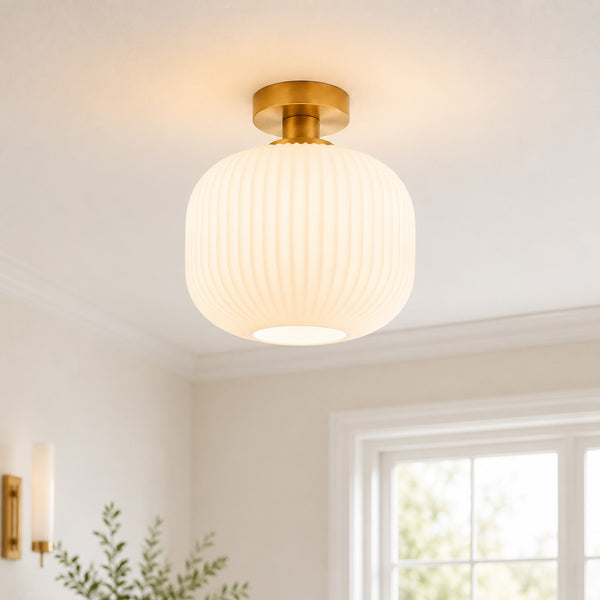
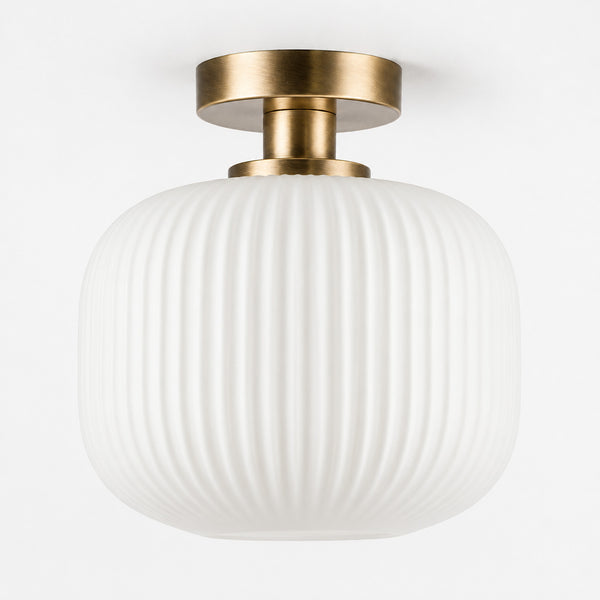
Rivoli Ribbed Ceiling Light — Glass, Antique Brass
Ribbed glass warmth for steamy sanctuaries
BrassE27 ES1 lampholder£60In stockView product →


Buying Guide
Frequently Asked Questions
Do flush ceiling lights need to be installed by a qualified electrician?
Under UK Building Regulations Part P, replacing an existing light fitting on a like-for-like basis is generally non-notifiable work that a competent person can do. However, installing a new circuit, adding lights in bathrooms (zones 1-2), or any work you're unsure about must be done by a Part P certified electrician or notified to Building Control. Always turn off the mains before attempting any electrical work.
What size flush ceiling light do I need for my room?
A general rule is to add your room's length and width in metres, then convert that number to centimetres for your fitting diameter (e.g., 4m + 3m = 7, so approximately 70cm diameter). For standard UK rooms around 3m x 3m, a 30-40cm diameter flush light works well. In smaller spaces like hallways or WCs, 20-30cm fittings are typically sufficient.
Can I use smart bulbs or dimmer switches with flush ceiling lights?
Most flush ceiling lights work with smart bulbs if they use standard E27 or E14 fittings, but check compatibility if the fitting has integrated LED. For dimming, you'll need dimmable bulbs and a compatible dimmer switch—LED bulbs require LED-rated dimmers, not traditional trailing edge dimmers designed for incandescent bulbs. Some modern flush fittings with integrated LED include built-in dimming functions.
What's the minimum ceiling height needed for a flush ceiling light?
Flush lights are specifically designed for low ceilings and typically project only 5-15cm from the ceiling surface. They're ideal for UK homes with standard 2.3-2.4m ceiling heights or rooms with sloped ceilings where pendants would hang too low. There's no minimum height requirement as the fitting sits directly against the ceiling.
Will a flush ceiling light fit my existing BESA box?
Most flush ceiling lights are designed to fit standard UK BESA boxes (circular mounting boxes, typically 80mm diameter). Check that your fitting's backplate diameter is at least as large as your ceiling box to ensure it covers the hole completely. If you have a very old ceiling rose or non-standard mounting, you may need an electrician to fit a BESA box first.
What IP rating do I need for a bathroom flush ceiling light?
In UK bathrooms, lights within 60cm of a shower or bath (zones 1-2) require a minimum IP rating of IP44, though IP65 is recommended for areas with direct water spray. Lights elsewhere in the bathroom (zone 3) only need IP20, but IP44 is sensible for moisture protection. Always check the specific zone requirements before purchasing.
How do I clean a flush ceiling light without damaging it?
Always switch off the light at the mains and allow bulbs to cool completely before cleaning. Use a soft, dry microfibre cloth for regular dusting, or a slightly damp cloth for glass or metal shades—avoid harsh chemicals or abrasive materials. For detailed glass or crystal flush fittings, remove the shade if possible and clean separately, ensuring it's completely dry before reassembling.